
Notice
Recent Posts
Recent Comments
Link
| 일 | 월 | 화 | 수 | 목 | 금 | 토 |
|---|---|---|---|---|---|---|
| 1 | 2 | 3 | 4 | 5 | 6 | 7 |
| 8 | 9 | 10 | 11 | 12 | 13 | 14 |
| 15 | 16 | 17 | 18 | 19 | 20 | 21 |
| 22 | 23 | 24 | 25 | 26 | 27 | 28 |
| 29 | 30 |
Tags
- prisma
- angular route
- 셀렉트박스 커스텀
- ajax 사용 예시
- 모달
- flex-1
- Ionic modal
- Router
- 아이오닉 스크롤 이벤트
- 호버
- scroll
- angular animation
- Oracle LISTAGG 사용 예시
- TAILWIND
- summary
- route
- angular button
- mysql if
- 앵귤러 모달
- 옵저버블
- 스크롤 이벤트
- ApexChart
- 앵귤러 애니메이션
- 검색
- egov spring ajax 사용 예시
- modal
- angular modal
- 스크롤 이벤트 감지
- formgroup
- Angular Router
Archives
- Today
- Total
깜놀하는 해므찌로
Ionic Angular google map API 앵귤러 구글 맵 API 활용 예시 본문
반응형
SMALL

npm i @angular/google-maps구글 API 패키지 설치 CLI
<script src="https://maps.googleapis.com/maps/api/js?key=API키"></script>0. 템플릿 최상단 (index.html)
<div class="h-40" *ngIf="isLocationLoaded"> <!-- geo 위치가 있을 시 보여주기 -->
    <google-map width="100%" height="100%" [options]="mapOptions" />
  </div>
1. 템플릿
import { GoogleMapsModule } from '@angular/google-maps';


mapOptions: google.maps.MapOptions = {};
isLocationLoaded = false;


ngOnInit(): void { // init 후크
    window.navigator.geolocation.getCurrentPosition( // 현재 geo 위치 가져오기
      (position) => {
        this.mapOptions.center = {
          lat: position.coords.latitude,
          lng: position.coords.longitude,
        };
        this.isLocationLoaded = true;
      },
      () => {
        this.isLocationLoaded = true;
      }
    );
  }
2. 컴포넌트
특정 위치 중심 지도 보여주기
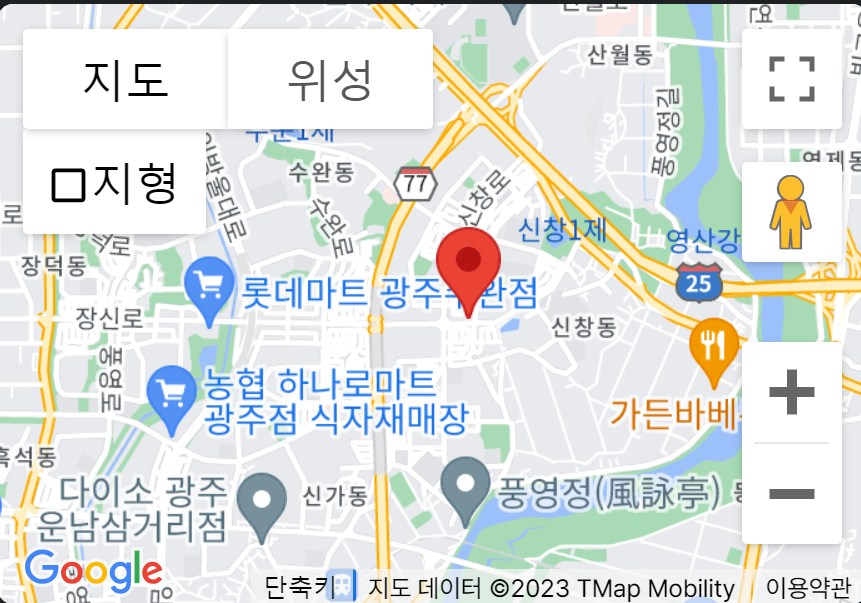
<google-map width="100%" height="100%" [options]="branchOffice" >
      <map-marker *ngFor="let marker of markerOptions" [options]="marker"></map-marker>
    </google-map>
1. 구글 맵 태그 안에 마커 태그 넣기
import { GoogleMapsModule } from '@angular/google-maps';
import { MapMarker } from '@angular/google-maps';

headOffice: google.maps.MapOptions = {
    center: { lat: 35.123, lng: 126.123 },
    zoom: 16,
  };
  branchOffice: google.maps.MapOptions = {
    center: { lat: 35.123, lng: 126.123 },
    zoom: 16,
  };


markerOptions: google.maps.MarkerOptions[] = [
    {
      position: { lat: 35.123, lng: 126.123 },
      title: '본사',

    },
    {
      position: { lat: 35.123, lng: 126.123 },
      title: '지사',

    },
  ];
2. 컴포넌
반응형
LIST
'IT' 카테고리의 다른 글
| Angular Stagger Animation 앵귤러 스태거 애니메이션 예시 / 한줄씩 등장하는 애니메이션 (0) | 2023.07.18 |
|---|---|
| Observable Http통신 배열로 받는 법 예시 / async, await, error (0) | 2023.07.17 |
| RXJS Observable 구독 중에 구독 취소하기 / 옵저버블 강제 구독 해제 (0) | 2023.07.15 |
| Ionic Angular loading 앵귤러 로딩 페이지 서비스 예시 (0) | 2023.07.14 |
| Angular Ionic에서 Kakao Map API 사용하기 (0) | 2023.07.13 |
'IT' Related Articles
more
